The Marketing Center is one of the best free tools available to you, included with your listing from Boxwood Photos! Our marketing center allows you to create various marketing materials for each of your listings. You can make flyers, postcards, social media posts, and digital ads all in just a few minutes!
The first step in using the marketing center is getting there. Your photos will be delivered to you the day after your shoot! Just another benefit of using a professional photographer. For more information on why you should use a professional photographer, read HERE. Once your photos have been delivered, you will receive an email with the link to your listing.
Click the Customize and Download button to enter your dashboard for your listing. Once you are in your listing, you will see the Header below Quick Actions, and below that Sections. One of those sections is called the Marketing Center.
Click the Create button, and you will be brought into the Marketing Center, where you can view all of your templates and options. Once you have decided on what you are going to create, it is now time to customize it to you!

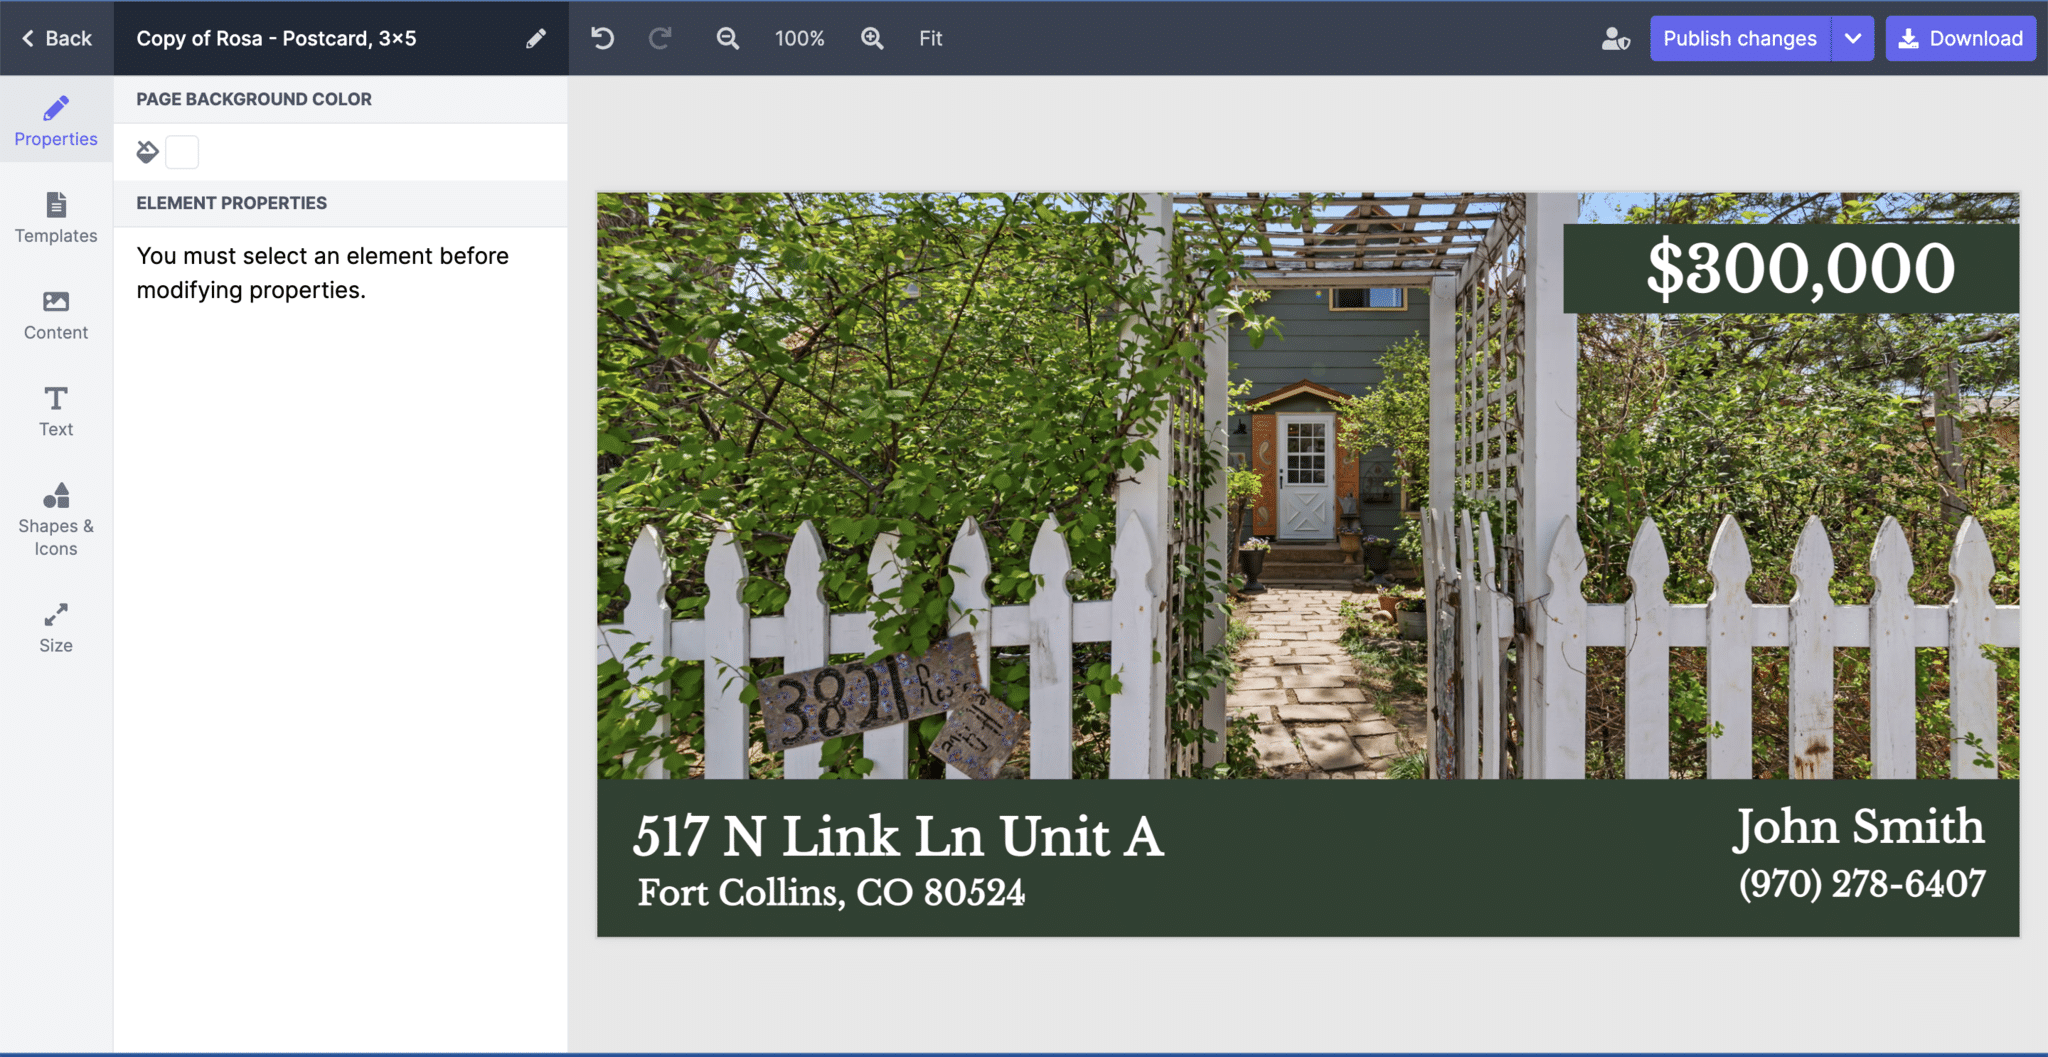
Under Properties is where you can change non-text and photo aspects of your project. This includes background color, banner color, size and locations. Also aspects of your photos, including layering photos and changing the size. To change existing items on your project, click on the one you would like to edit and it will be highlighted in blue. You are able to edit the selected object on the left hand side.

The Content tab is where you have access to all of your photos for the listing. Here you can add your headshot and brokerage logo to your project. This is not where you add your personal branding into your account. You can add this information directly into your Aryeo profile.
From your home page in your Aryeo account, click your name in the top right hand corner of your screen, and then click Edit User. You can upload your headshot into the avatar box, and your logo to the logo box!
Once you are back in the Marketing Center, these photos will appear under your Agent Content drop down. There are a handful of icons( bed, shower, car,) etc. You can also add onto the project through the Icons drop down.

All of the text on the template is fully customizable. To change the text, double click on Words, and a blue box will highlight the selected text. You may add any information that you would like to have on your flyer/post. You may also add additional text boxes from the left hand side as well.
You are going to want to make sure that you are saving periodically along the way, it will not automatically save for you. To save, click the Publish Changes button in the top right corner. To access this again, from your listing page, click the marketing center arrow.
All your projects for that listing will be available there. When you are happy with the state of your project and are ready to share your creation, click the download button in the right corner. Now you can share it wherever you need!
Post them to your social media, or print them out to distribute to potential home buyers at your open house! And as always, if you ever need more assistance, feel free to call our office.
