Preparing a property for a real estate photoshoot is a crucial step in capturing its best features and attracting potential buyers or tenants. A well-prepared property can make a significant difference in the quality of the final images and the overall impression it creates. In this blog post, we'll share ten essential tips to help you prepare your property for a successful real estate photoshoot.

- Declutter and Depersonalize: Start by decluttering the space and removing any personal items such as photographs or highly specific decor. Clearing away excessive clutter allows potential buyers to focus on the property's features and visualize their own belongings in the space.
- Deep Clean: Ensure the property is clean and tidy in preparation for the photoshoot. Dust surfaces, vacuum or mop floors, clean windows, and pay special attention to kitchens and bathrooms. A clean and well-maintained property will look more appealing in the photographs.
- Maximize Curb Appeal: Preparing a property's exterior of the property sets the first impression for potential buyers. Enhance curb appeal by tidying up the yard, trimming overgrown vegetation, mowing the lawn, and adding fresh mulch or potted plants. Consider repainting the front door or making any necessary repairs to the exterior.
- Arrange Furniture and Decor: Strategically arrange furniture and decor to showcase the property's flow and functionality. Consider the focal points of each room and position furniture accordingly. Create an inviting atmosphere by using neutral colors and arranging items in a visually pleasing manner.
- Let There Be Light: Maximize natural light by opening curtains, blinds, and shades. Turn on all interior lights to create a bright and welcoming ambiance. Well-lit spaces tend to appear larger and more inviting in photographs.
- Highlight Architectural Features: Draw attention to the property's unique architectural features, such as exposed brick walls, high ceilings, or intricate moldings. Remove any obstructions that might block the view of these features and consider adding subtle accent lighting to enhance their appeal.
- Stage with Purpose: Strategically stage each room to highlight its purpose and potential. Create defined areas for dining, relaxation, or workspaces. Use appropriate furniture and decor to showcase how each room can be utilized effectively.
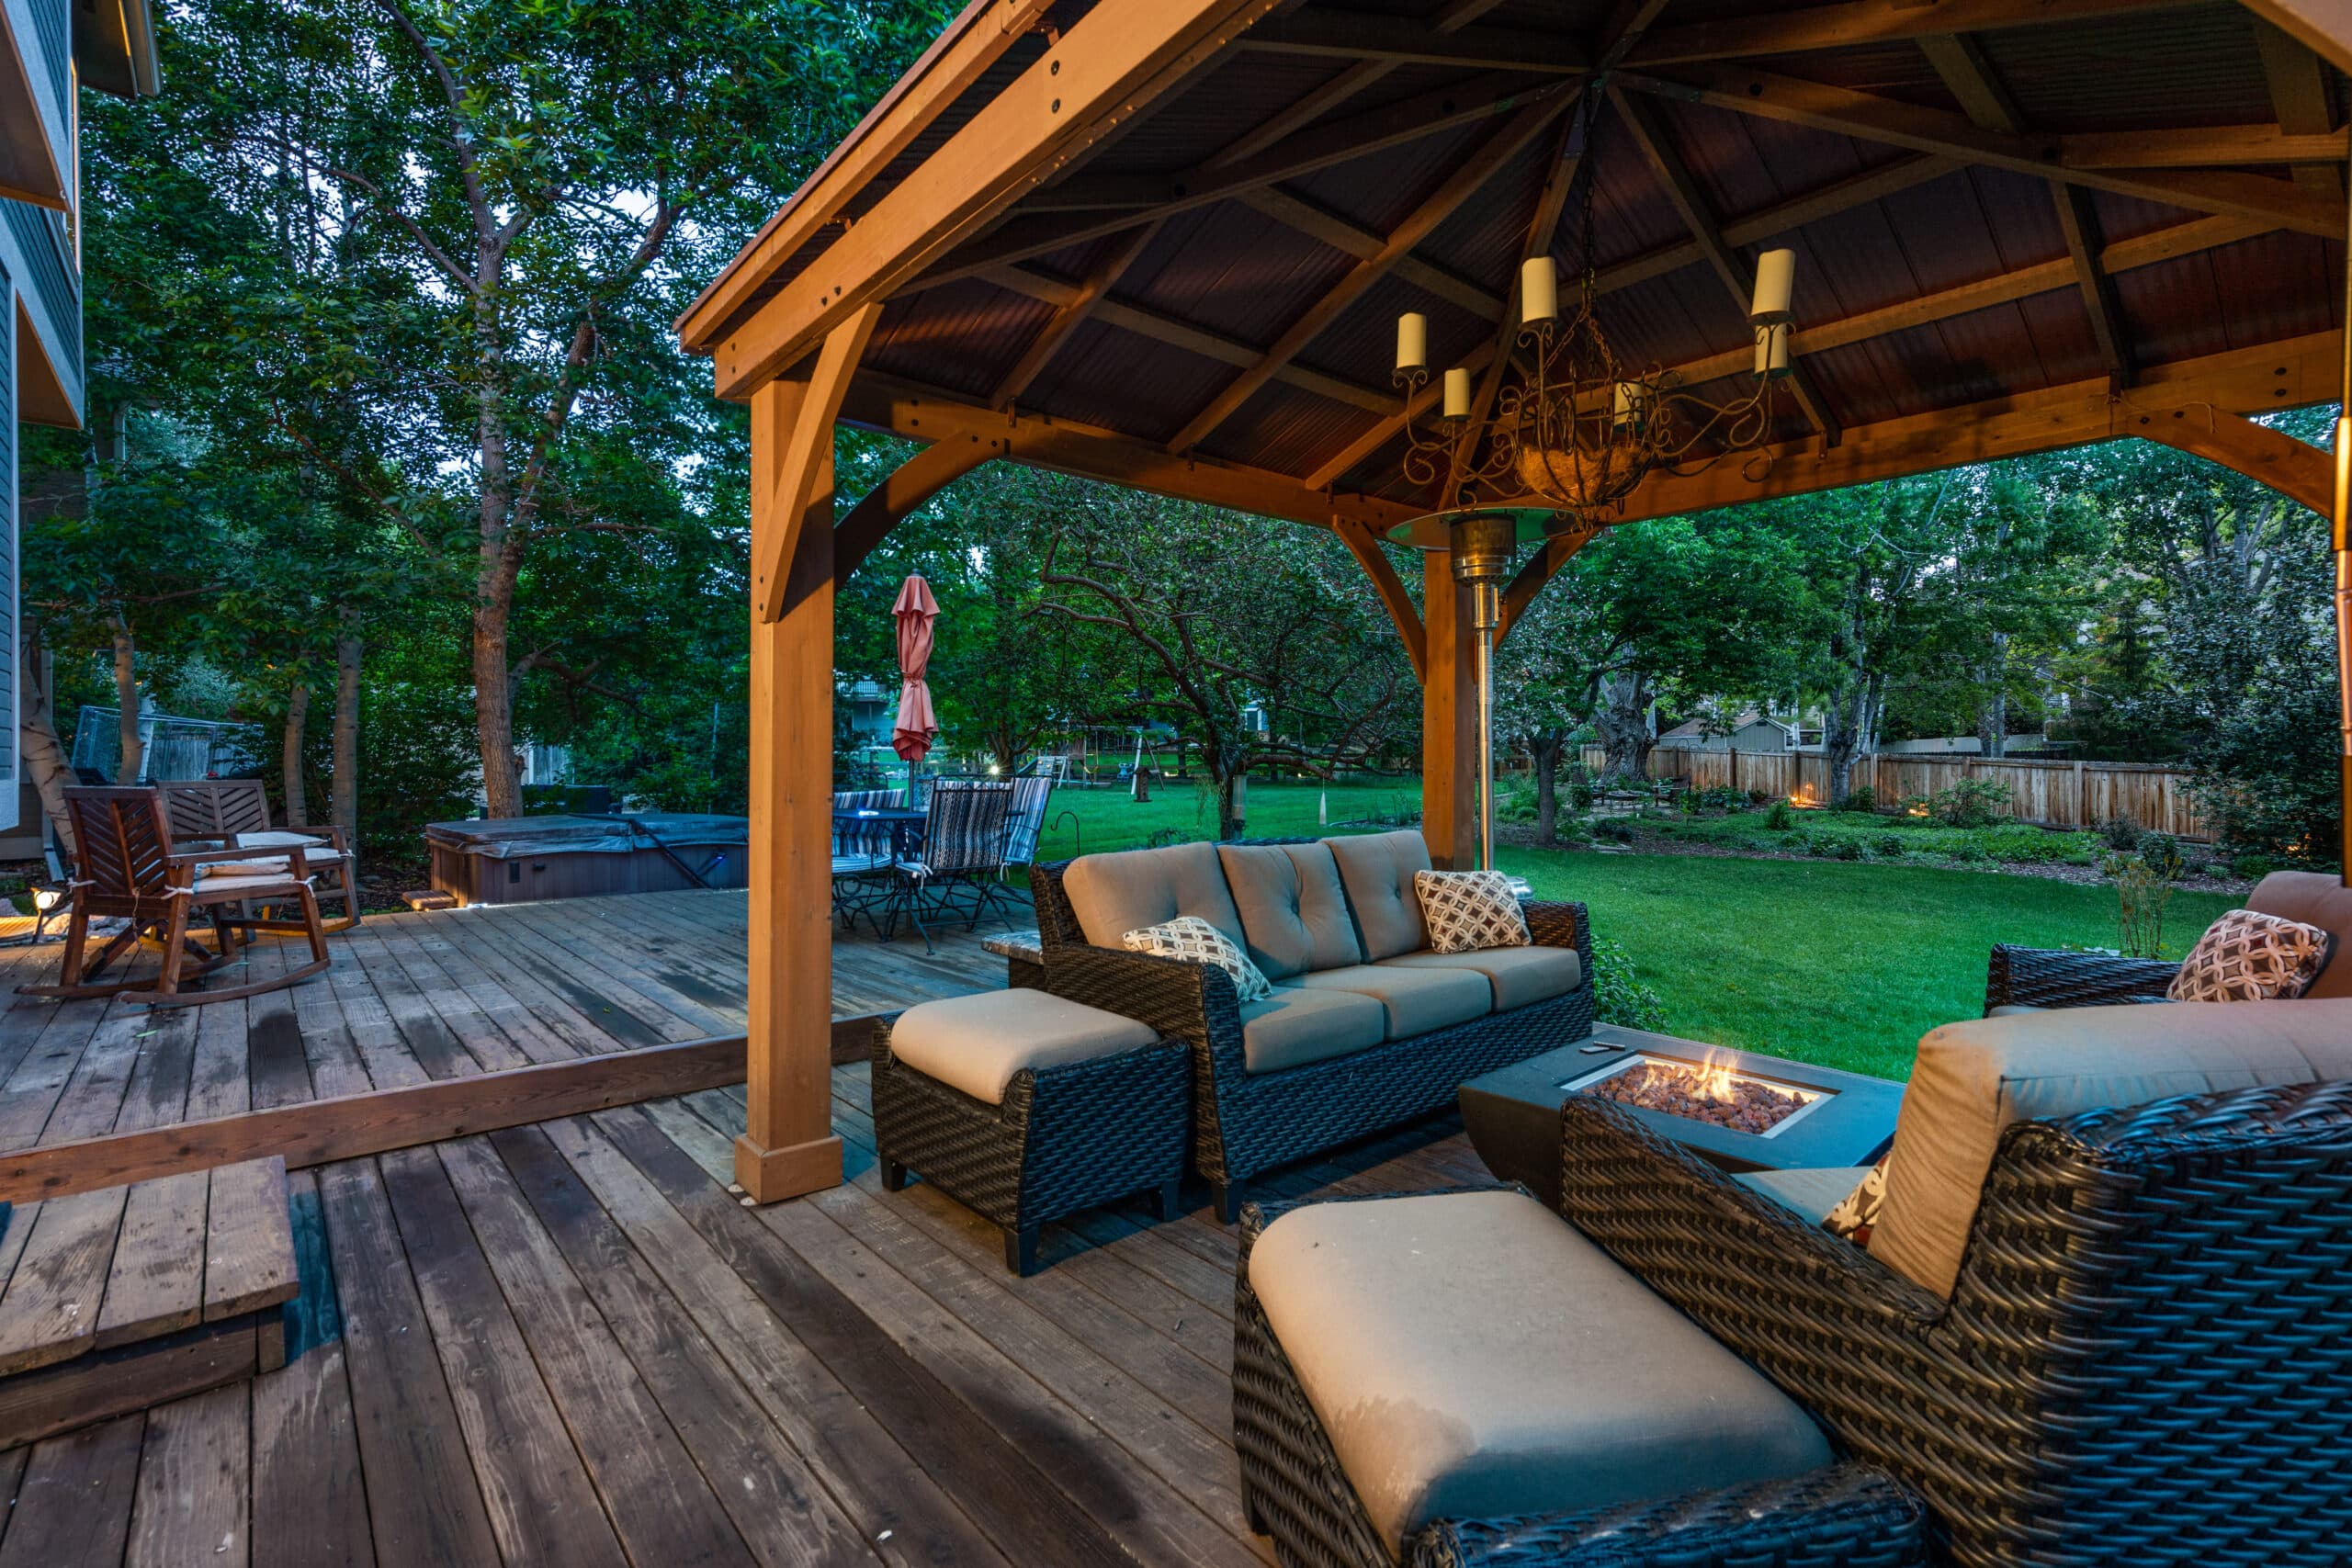
- Enhance Outdoor Spaces: If your property has outdoor areas such as a patio, balcony, or garden, make sure they are clean, well-maintained, and inviting. When preparing a property's exterior, stage outdoor furniture with cushions, add potted plants, and set up an outdoor dining or lounging area to demonstrate the full potential of the space.
- Pay Attention to Details: Small details can make a big difference in the overall impression of the property. Ensure that all light bulbs are working, replace any burnt-out or mismatched bulbs, fix loose handles or hinges, and address any visible signs of wear or damage.
- Have a Final Walkthrough: Before the photoshoot, take a final walkthrough of the property as if you were a potential buyer. Look for any areas that might need attention or adjustments. Check for any personal items that may have been missed during the decluttering process.

Preparing your property for a real estate photoshoot requires careful attention to detail and strategic staging. By decluttering, deep cleaning, maximizing curb appeal, arranging furniture and decor, utilizing natural light, highlighting architectural features, staging purposefully, enhancing outdoor spaces, attending to details, and conducting a final walkthrough, you can ensure that your property is ready to shine in the photographs. Remember, a well-prepared property will leave a positive and lasting impression, ultimately attracting more potential buyers or tenants.